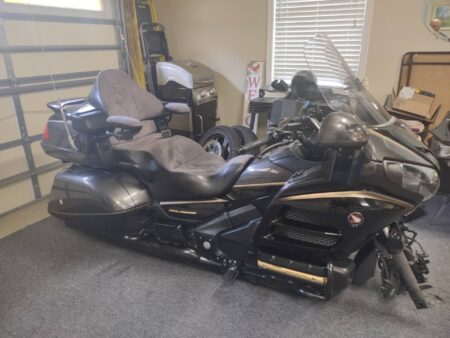
Okay, so I know I’ll catch hell from this in the motorcycling community but I’m sure most of us have been there once or twice. You need to pull tires either out on the road or you don’t have a lift in your garage, or maybe it’s just simply the cost of bringing the entire bike to Honda to change tires is overly ridiculous. Either way, knowing that this can be done will provide you with a sense of ability if you should ever need it.
First off, I want to just say that I, as a mechanic, try to work with the minimum set of tools possible. I do this because when you’re out on the road and something happens, chances are, you’ll need to work with what you have on you. And that may not be much. When riding my ’01 wing, I only carried the Honda tool kit and a large adjustable wrench, 19mm Deep socket and a breaker bar. Now, I’m a little more stocked with a tool roll and a good assortment of common tools.
So, here is how I pull my tires when it’s time to get new rubber. First, make sure you’re on a flat and clean surface, no stones or oils that may make you slip. You’ll want to lay down a blanket or carpet on the bike’s right side before you start. I have a 12’x19′ carpet that I laid in my garage and do all my work on that. Helps on the ‘ol knees. Remove any non-stock accessories from the right side.  I run with highway pegs and baker wings behind the radiators, so those are removed. Then pull the right mirror and if you use baker wings under the mirror, make sure it’s parallel to the bike.
For the wheels, break the lug nuts loose on the rear and pull off the front fender and caliper covers. Break loose the front axle retainer bolt on the right end of the front axle and the right-side axle pinch bolts on the right fork. Remove the bolts that hold on the right brake caliper and slide it off the rotor. Leave the axle pinch bolts on the left fork torqued to ensure the axle stays in place.
With everything out of the way and/or loosened, you can now lay the bike on its side. Note that coolant, oil or gas will not leak provided your caps are tight and you don’t have any unknown issues. 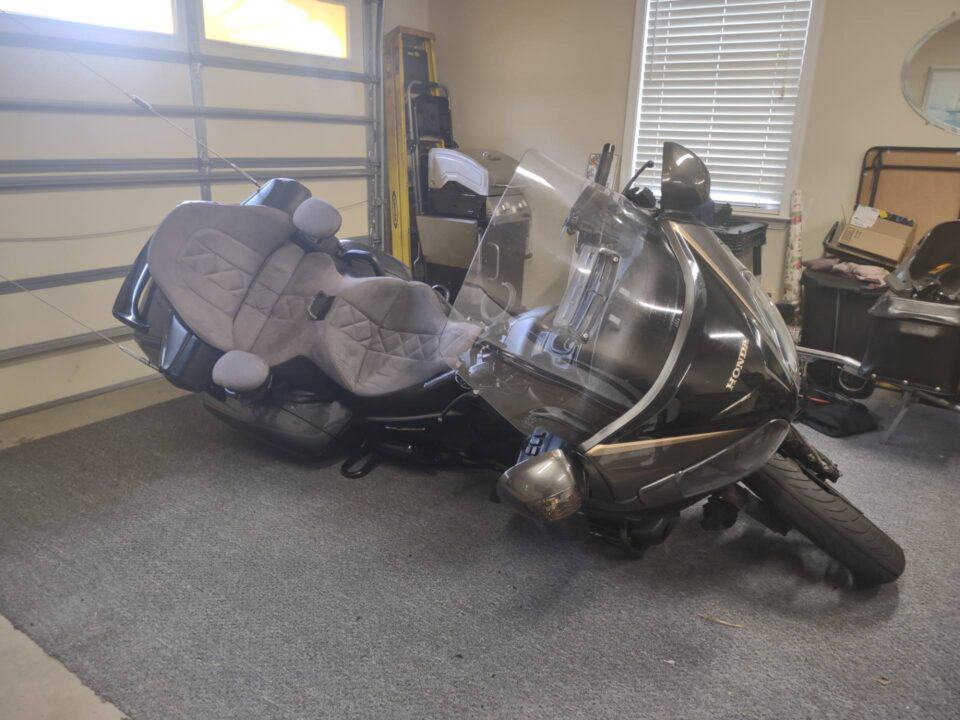 Turn the front wheel to the right then with your back side against the seat on the right side, grab the right-side passenger grip and the right handlebar grip and lean the bike over to the right side. This would simply be the reverse of picking up the bike if it had fallen.
The bike will rest on the wheels and crash bars at about a 45-degree angle. To get it completely on its side, pull on the left passenger hand grip and the left handlebar grip. This will take some effort. As the bike rolls to its side, turn the front wheel to the left so that the right Handlebar grip is straight up and down and becomes the third resting point for the bike.
The bike will sit on the two crash bars, engine and saddle bag with the third point being the right handlebar grip. From here you will have an inch clearance under the motorcycle, and it will allow you a fairly sturdy platform to do the work you need to do.
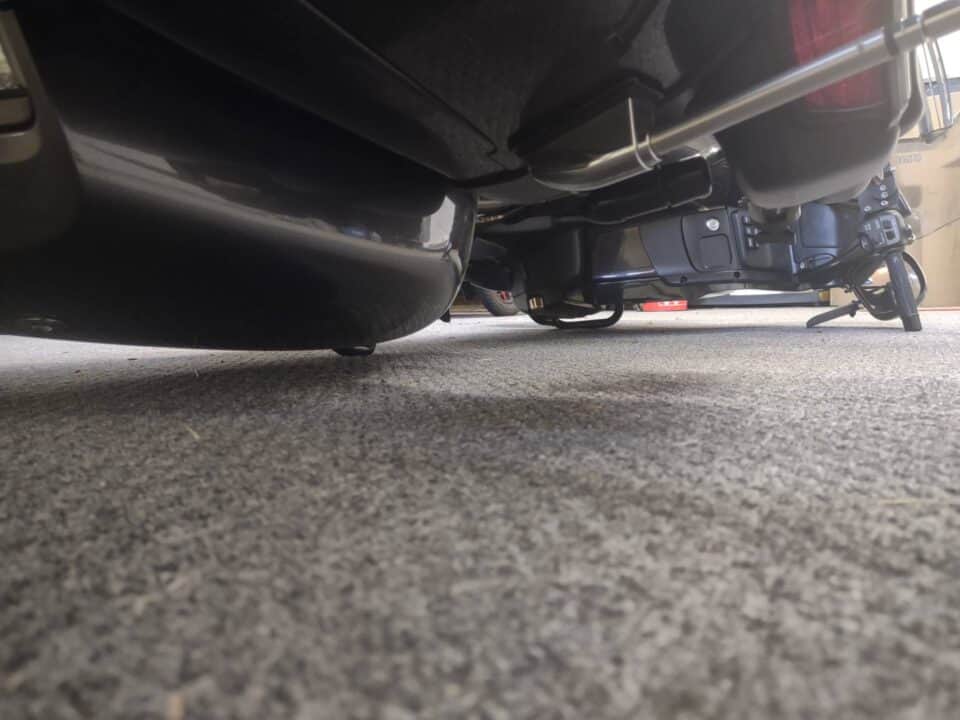 Now you can remove the rear lug nuts and the rear wheel. On the front wheel, you’ll need to break the left axle pinch bolts loose and remove the axle retaining bolt from the right side so that you can slide the axle out. Pay attention to which side the axle bushings go on and put them on the axle on their appropriate side screwing the axle retainer bolt on the end of the axle to keep everything together. Remove the front wheel.
If your local shop is anything like mine, getting tires changed may take a few days so to make things safe, put your side stand in the up position (as if you were riding), and roll the motorcycle back up on its belly so that you can work on other things while waiting for tires. For me, it’s brake pads and a nagging leaky fork seal. 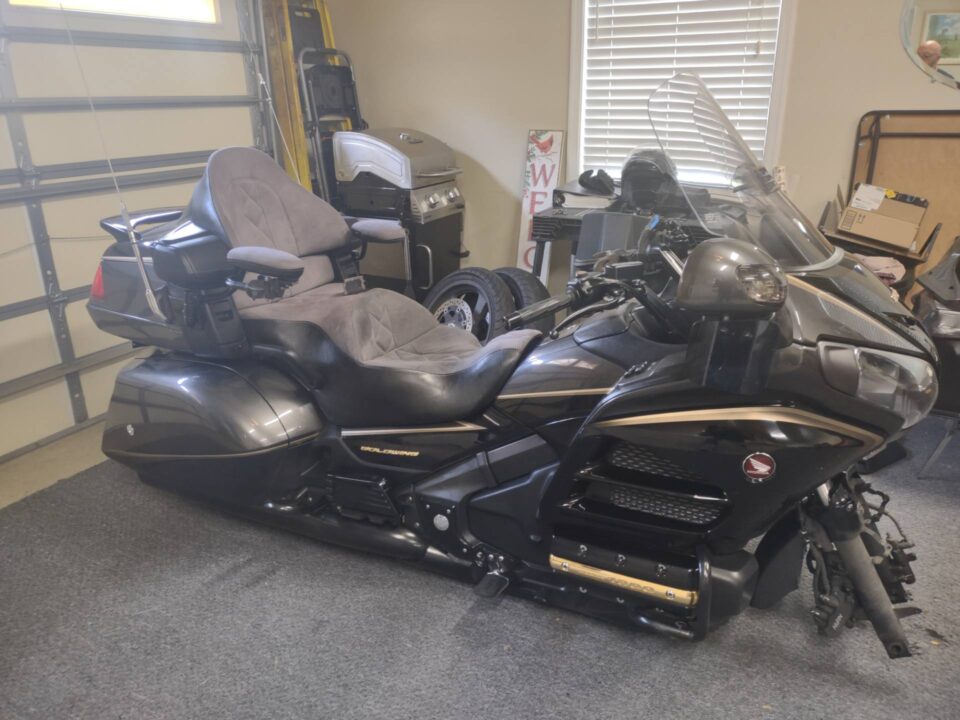
Once you have your wheels back, simply lay the bike back over, put the wheels back on, I would recommend just getting things hand tight. Make sure your side stand is down, lift the bike back up and torque all your hardware. Double check your installation and take it for a quick shakedown ride.
If you need details on any maintenance, I highly recommend spending the money to invest in Honda’s shop manual. I feel that the shop manual is way better than purchasing third party manuals and have always used them for my work. I hope you’ve found this to be beneficial and provide you with the knowledge that you can remove your wheel in a pinch, wherever you are.
